
We measure before we quote. That's the whole method.
Most windshield damage is either completely fixable or past the point of repair, and the difference is measurable. Here's what happens from the moment you send us a photo to the moment you drive away.
Read the damage
Everything starts with a measurement, not an opinion. Send us a photo through the assessment form, or bring the vehicle in — either way the damage gets read the same way.
Impact point located
Where the strike actually landed — which matters, because two inches changes the entire prognosis.
Spread measured
We log the longest dimension of the damage to the nearest millimetre, in daylight and in shade.
Depth assessed
Whether the break has reached the inner glass layer or is still contained in the outer ply.
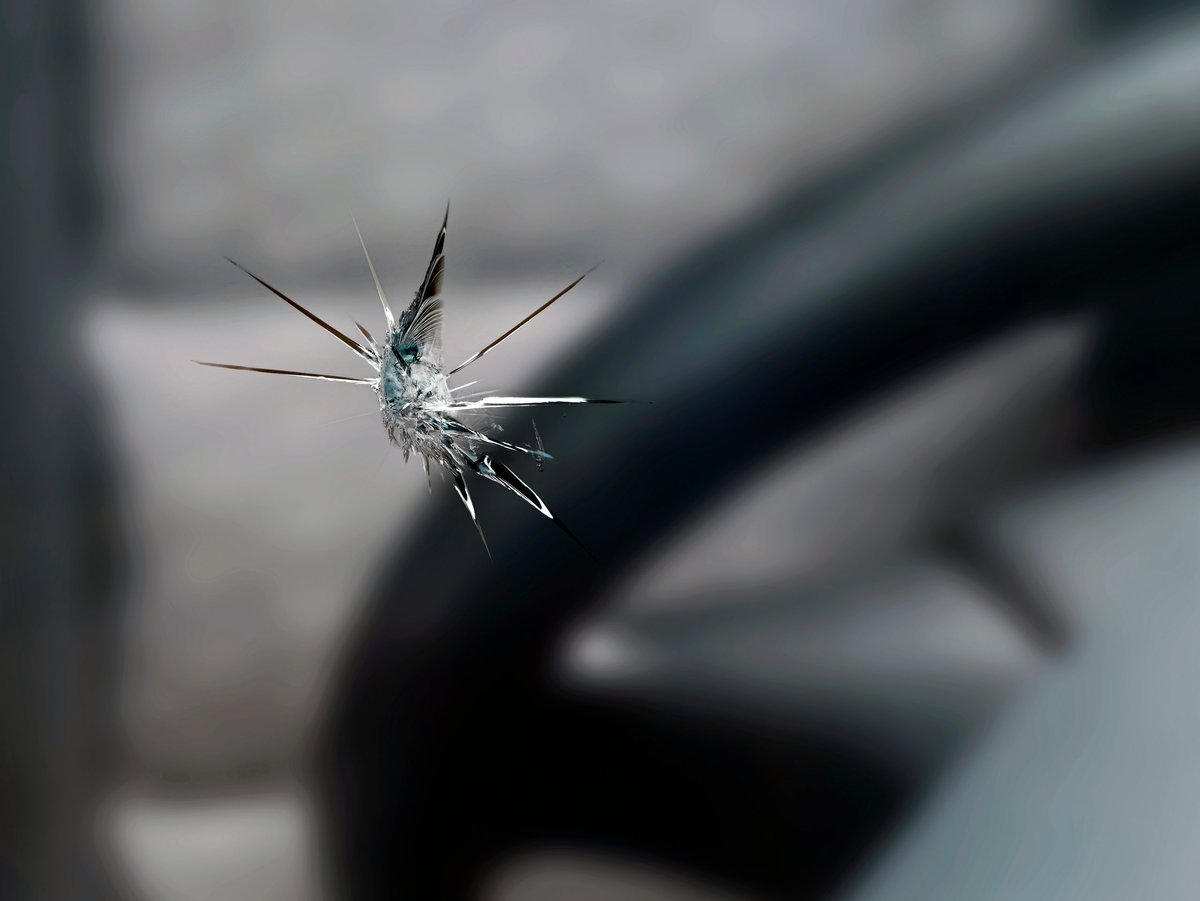
4 mm · contained
no contact with the edge
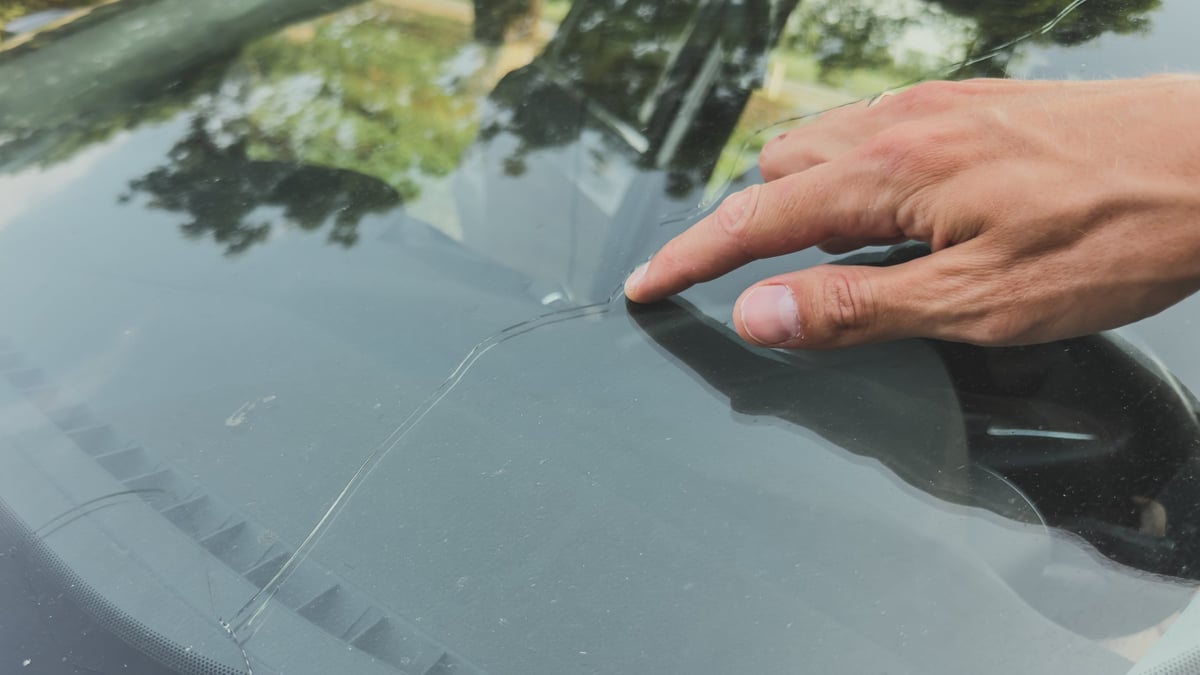
Decide if it can hold
A repair only works if the resin can reach the full depth of the break and the surrounding glass is stable enough to hold it. Three things decide that.
Edge distance
2 in minimum
Damage closer than this to the frame moves with body flex and will not stay closed.
Crack length
6 in maximum
Past roughly six inches, the resin cannot bridge the full span under driving load.
Contamination
clean only
Water, dirt or old silicone in the break blocks the resin from bonding.
If your damage fails any of these, we will tell you it needs a replacement. We do not sell repairs that will not hold.
Quote it, in writing
You get a fixed number before any tool touches your glass. Not a range, not a "starting from" — the price for the job described.
If it turns out to need a replacement instead, that's a different quote — and we'll walk you through what's involved, what glass we'd source, and whether your ADAS system needs recalibrating afterwards.
No insurance required. Most chip repairs sit below the typical comprehensive deductible, so filing a claim often costs more than paying outright. We'll tell you which makes sense for your situation.
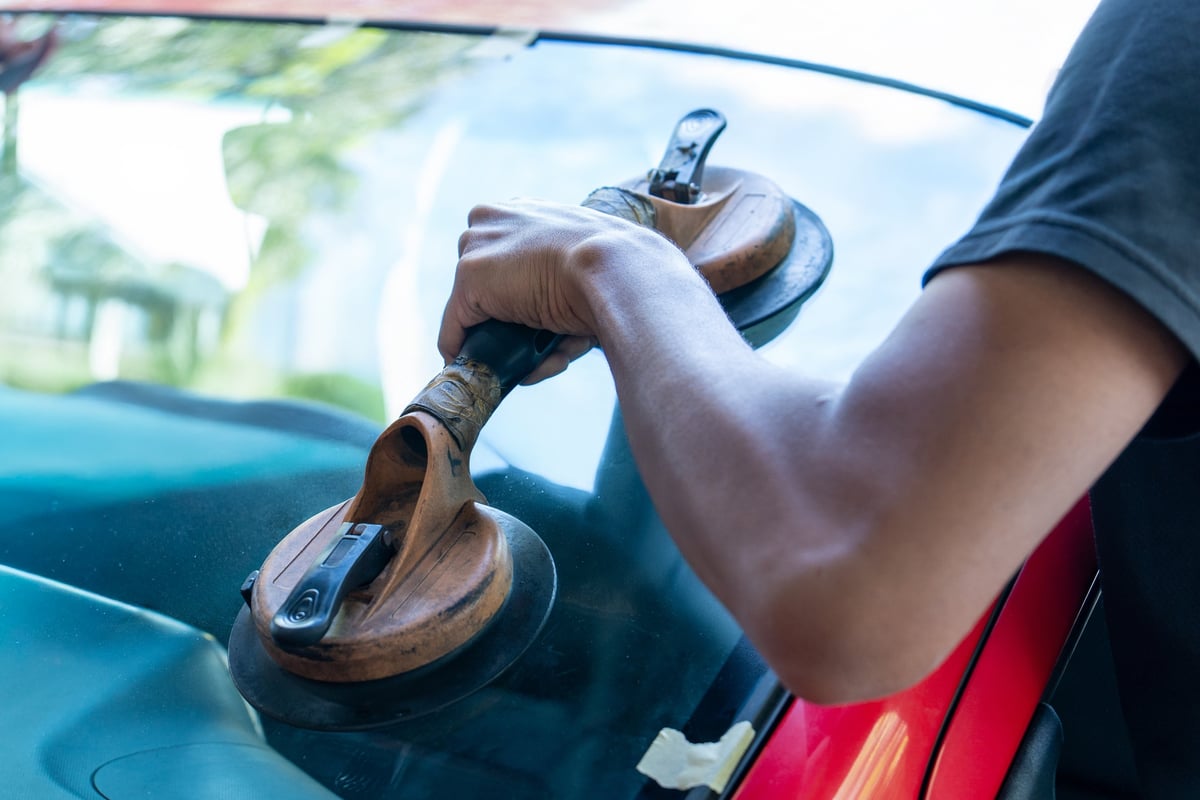
Under 60 minutes
typical chip repair, start to drive
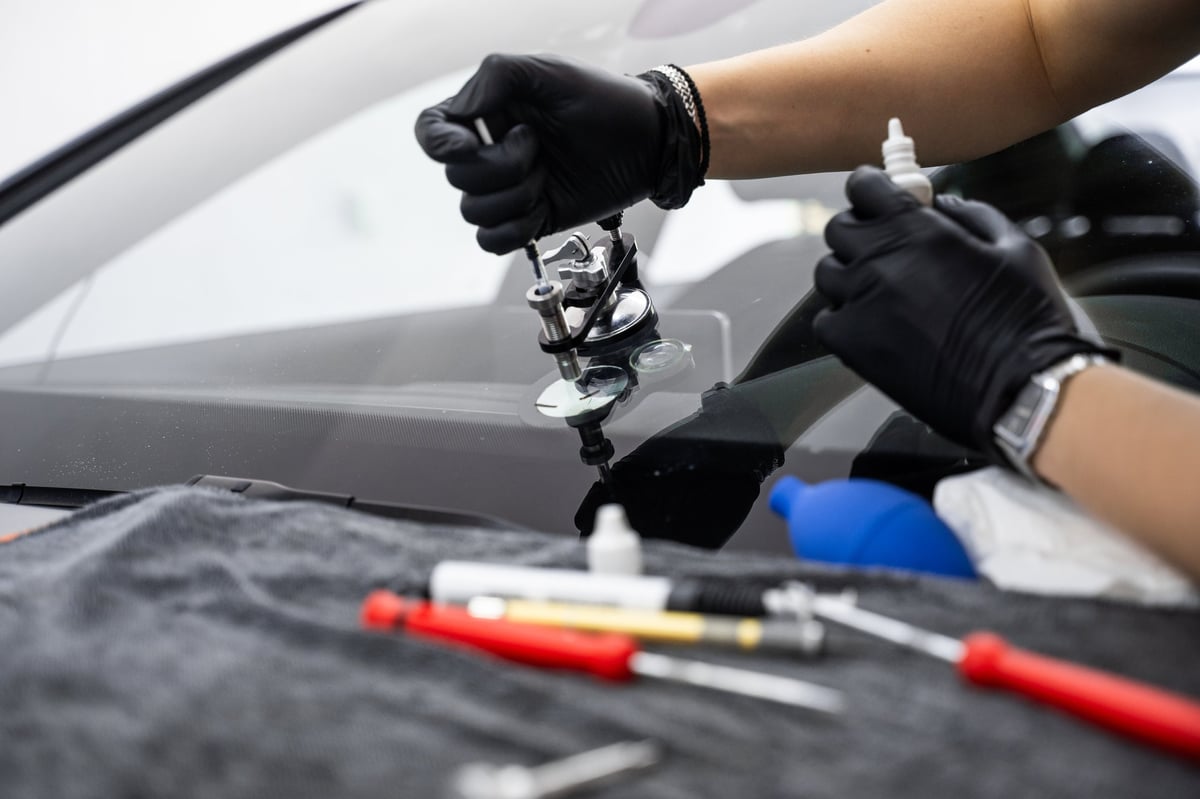
Repair and cure
The repair itself is a four-part sequence, and skipping any part of it is why some repairs fail months later.
- 1
Vacuum the break
Air and moisture are pulled out of the fracture so the resin has somewhere to go.
- 2
Inject the resin
Glass-matched resin is pushed into the full depth of the damage under pressure.
- 3
Cure under UV
Ultraviolet light sets the resin hard, restoring structural integrity to the glass.
- 4
Polish the pit
The surface is levelled and polished so the wiper glides over it without catching.
The vehicle is road-legal the same day. Your repair is guaranteed against spreading under normal driving — if it travels, we make it right.
Step one takes about two minutes.
Send a photo of the damage and we'll read it for free, then tell you straight whether it's a repair or a replacement.
Get My Free Assessment